
Harvesting vermicompost from a home bin may seem challenging when you consider how to separate the finished compost from any remaining food or bedding, and of course from the worms themselves. You can always take handfuls of material out of your bin, pick out all the worms and undigested food, then set the finished compost aside. This can get very time consuming and requires a great deal of close attention. There are a few tricks you can use to separate material and make harvesting a very simple process.
Separating Finished Compost from Food and Bedding
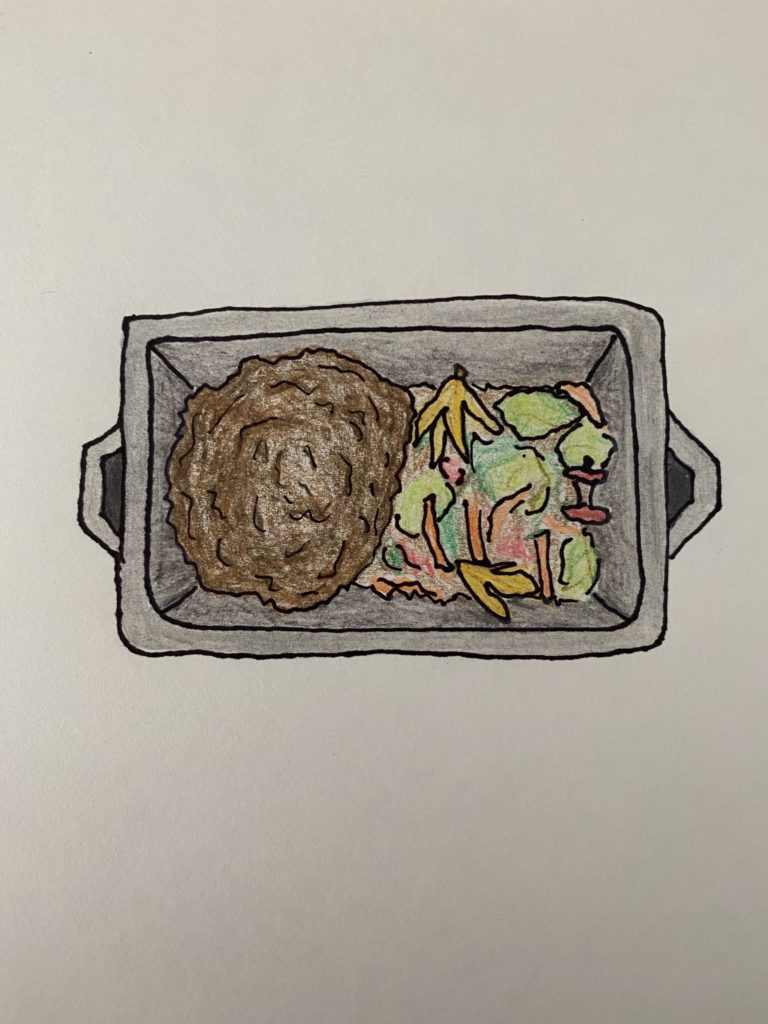
Keeping food and bedding separate begins as much as several weeks before you want to harvest. One technique is to feed only on one side of the bin. Once the worms break down that material, push it towards the center and add any new food and bedding in the same spot. This ensures that while the feeding side may be a mix of food and compost, the opposite side will be entirely finished compost as it is the oldest material in the bin. Another technique is simply to stop feeding the worms for several weeks so that they have time to completely finish all material in the bin. While worms can eat compost multiple times, they will get stressed if forced to live in finished material for too long so be sure to harvest as soon as possible.
In either case, when you are ready to harvest you can simply remove the finished compost by scooping it out with your hand. You will now have a mix of finished compost and worms; see the next section for tips on how to separate the worms.
Separating Worms from Finished Compost
You can use a worm’s own nature to easily separate it from finished compost. The best method is to place a frame of hardware cloth with narrow openings (1/4 an inch is ideal) over your bin and pile the mixture of compost and worms on top. If you emptied your bin completely, make a new habitat with fresh bedding and food. Use a desk lamp to shine light at the pile of compost. Because worms hate light, they will dive down below the compost surface, through the hardware cloth and back into the bin below. You may have to spread your compost in a thin layer or remove some to make sure the worms travel all the way down to the bin below, but when you are finished you will have worm-free compost and a fresh worm bin ready to go.
If you don’t have any hardware cloth, you can take your compost-worm mixture and shape it into a cone or pyramid on top of a sheet of plastic. Shine the lamp at the pile to encourage the worms to dive deeper. Peel off the outer layer of compost and set it aside. This will likely reveal some worms who, until that point, were safely hidden from the light. Allow them a few seconds to dig deeper, then peel off another layer and set it aside. Continue this process, constantly driving the worms further towards the center of the pile, until you are left with nothing but a ball of worms at the absolute center. Place those worms back in your bin and put all that great compost you just harvested to use!
If you’ve been vermicomposting for a while and it just doesn’t seem like things are going well, please check our troubleshooting guide!
Pingback: Vermicomposting: Feeding and Maintenance | AS Department of Public Worms (DPW)