
Vermicompost: Materials & Setup
Creating a vermicomposting bin is easy and can use a variety of different materials to construct. This guide will teach you how to build a bin in one specific way, but many things could be substituted using your own discretion!
Materials:
To build a basic worm bin, you will need:
- 2 10-gallon Rubbermaid Roughneck storage totes, must be opaque
- 2 4×4 blocks, cut about 5 inches in length (check the scrap wood section at the hardware store, and do not use pressure-treated wood)
- A drill and a 1/8 inch drill bit
This is a simple single-chamber bin with a second bin to retain any excess liquids. Wooden blocks support the main chamber bin to keep it from sinking under the weight of the worms & castings, and from getting stuck in the lower bin, which will reduce air flow.
Construction:
- Open one bin and place the blocks to create 5 inched of support.
- Put the second bin inside the first on top of the blocks. Mark the line where the top bin sits above the rim of the lower bin; this ensures that the air holes you drill are not blocked by the lower bin.
- Remove the top bin. In the top bin only, drill holes about every 3 inches above the the marked line on all four sides.
- Drill 20-30 holes in one of the lids. You will not use the other lid.
- Drill 8-10 holes in the bottom of the top bin for drainage.
- Clear any bits of shredded plastic left behind by the drill to reduce the chance of the holes being blocked later.
- Place the top bin back inside the bottom bin on top of the blocks, and put the lid on.
- Your bin is ready! Next we will create the worms ecosystem!

Setup:
There are several types of worm bins and the type you have will slightly impact how you care for your worms. In general, plastic bins are more vulnerable to overheating when exposed to direct sunlight, but retain more water compared to wood bins. Stacking two bins is important in allowing for drainage, so consider the two bin method over just one. Regardless of this you’ll still need the three starting materials!

You will need enough to fill your bin about 2/3 full when dry and fluffed up. If you would like to use another type of material such as shredded cardboard, straw, dried leaves, etc for bedding, just keep in mind that bedding serves several purposes: 1) to provide a carbon source, 2) to provide bulk and help keep food waste from matting down and blocking airflow, and 3) to absorb excess moisture. Straw can provide carbon and can provide bulk, but does not absorb much moisture, whereas cardboard doesn’t bulk up very well. Newspaper meets all 3 needs. If you don’t use newspaper, use a mix of other materials so all needs are met.
This consists of fruit and vegetable scraps and/or coffee grounds. Acidic or potent items such as citrus, onions, and hot peppers must be avoided– remember that a worm’s body is basically one large mucus membrane, so anything that stings your eye will be very painful for them. Some people feed their worms bread, rice, or beans, but be aware that these items may ferment or mold heavily in your bin and may disturb the worms in large quantities. Meat, dairy, and oils should be kept out of the bin as they will cause odors and attract pests.
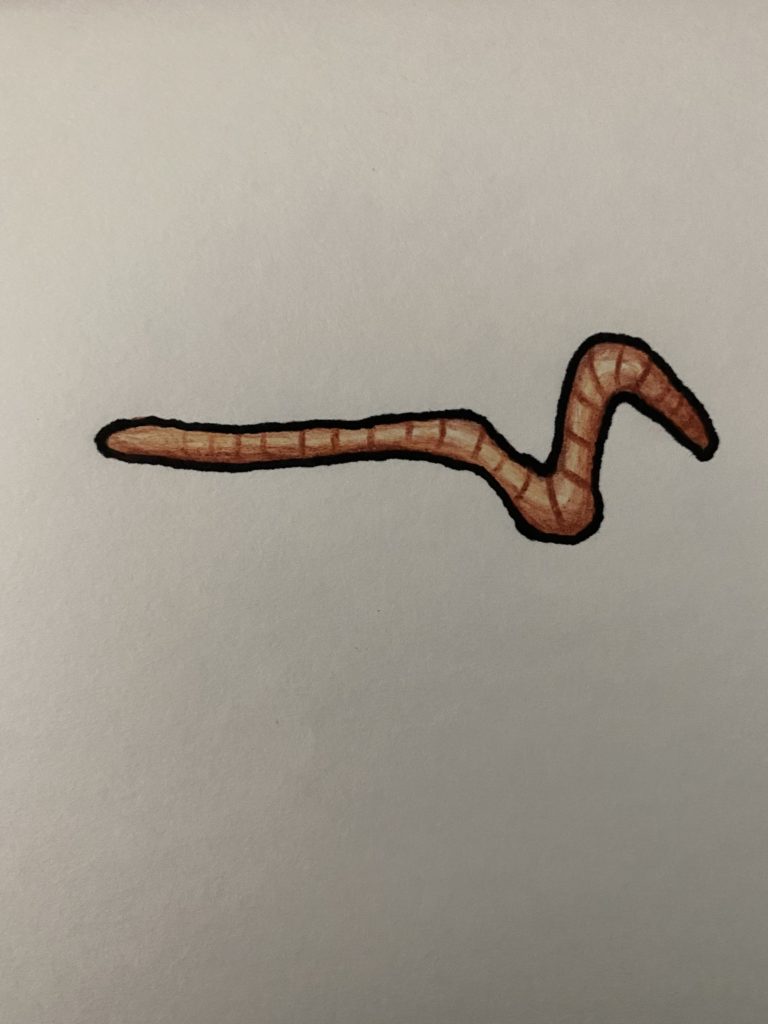
These should be red wiggler worms, or Einsenia fetida. Some people use nightcrawlers or blue worms, but red wrigglers are considered the standard for vermicomposting because they can tolerate a wider range of conditions while still being extremely productive. You should have about 1 lb, or 1000 worms, for every square foot of bin space. You can buy worms locally at Island Seed and Feed or Healing Grounds Nursery. They can also be bought online at Uncle Jim’s Worm Farm, and many garden and hardware stores.
Now that all of this is collected here’s how to set up the bin:
- If possible, you should try to set up your bin about two days before adding worms. This allows the moisture level to reach equilibrium and lets the food waste start to break down– worms do not actually eat fresh foods but rather feed on the microbes that thrive by decomposing food scraps.
- Cover the bottom of your bin with a layer of shredded newspaper. Mix it with your hand so that it is fairly fluffed up (it will compact with food and water, this is fine for the most part). It will be best to pre-moisten your paper.
- Add food waste. Start lightly, about a pound of food per pound of worms. The worms may be in shock for a day or two upon entering the new system and you want to make sure you don’t overfeed them. For this first feeding, you can apply food in a fairly even layer across the bin.
- Cover the food waste with a new layer of dry shredded newspaper. Again, make sure it is fluffed rather than compacted.
- If possible, let the bin sit for a day or two before adding worms. Check the bin to make sure moisture from the food has spread to the paper so that everything is lightly moist and there are no pooling liquids. If you cannot wait before adding worms or if the newspaper bedding is still dry, carefully add a small amount of water and mix the bin to moisten all material.
- Pull back the top layer of paper, add worms and any organic bedding (coir, any material your worms came with, or old worm castings), and re-cover with the newspaper layer.
- Close the bin and place it somewhere where it will stay between 50 and 80 degrees and will not be in direct sunlight.
- You may want to shine a desk lamp or porch light at the worm bin for the first night. Worms often take a day or two to settle into their new home and may try to escape the bin, but their intense dislike of light can keep them inside.
Feeding & Maintenance:
Now that the worm bin is all set up we just have to make sure to maintain the bin correctly! Continue to the next step: Feeding & Maintenance.