
A common question we encounter at our events is, “What do I do with my worm castings after I harvest them?” Below are several ways to utilize the nitrogen rich worm castings:
Enhance Your Garden Soil
Worm Castings are particularly beneficial for garden foods and flowers once they are in their vegetative state. Since worm castings are an excellent source of nitrogen, they will help your veggies grow stronger, taller, and greener.
Application Methods:
- Mix into soil before planting. Prior to planting seeds or transplanting seedlings, worm castings can be blended into the soil along with any compost or any other desired components before the growing season. Allow for 1 – 2 days before transplanting seeds to avoid shocking young plants with high nutrient concentrations. Watering the soil daily before planting for several days is also a good way to even out the concentrations in the soil, but don’t get the soil too soggy, or the mobile nitrogen will be washed out when the soil drains!
- Add to top soil. Any plants that are already growing strong and are in need of nitrogen can benefit from direct application to the top soil. Simply add roughly 1 square inch of worm castings to the top soil, evenly on all four sides, for every 2-3 inches of plant height. The nitrogen will naturally get to the plant through the roots when the plant is watered. There is no need to worry about over application for mature plants (older than 6 weeks). Apply less for plants that have been transplanted within the last 2 weeks, or any plants that are younger than 6 weeks.
These methods work for plants in the ground, raised beds, or in pots. Generally, you cannot give your plants too many worm castings, but it is always good to remember to maintain the balance of all the necessary components in your soil for a happy plant!
Feed Your Indoor Plants
Not only garden foods can benefit from worm castings! Flowers or other plants that may live in your porch, around your condominium or apartment complex, or even plants maintained by the City or your HOA can benefit from worm castings.
Application Methods:
Simply take your finished worm castings and spread them out evenly at the base of the plant you want to share the worm castings with! The nutrients will naturally flow down to the plant roots the next time they are watered. All plants including bushes, flowers, and trees can benefit from worm castings. If you’re a succulent or cactus lover, use worm castings sparingly – these types of plants generally grow slowly, and they uptake nutrients in the same way.
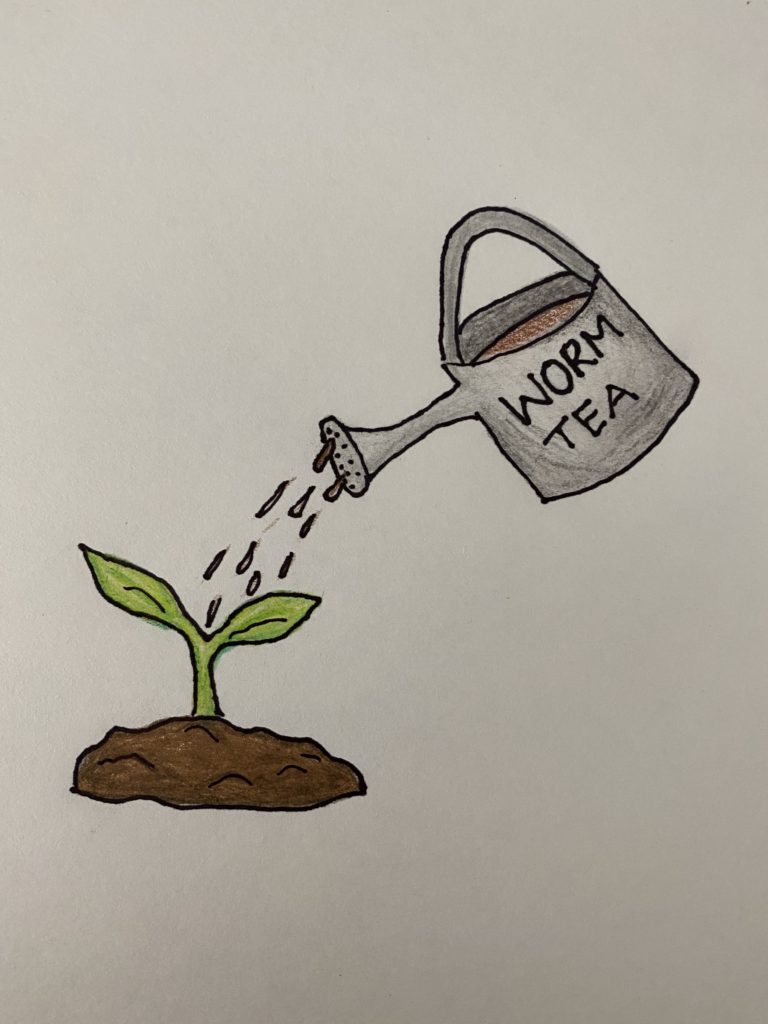
Brew Worm Tea
If you don’t have time to make a liquid fertilizer, check our our Worm Tea Orders page.
Follow these simple steps to brew your own liquid fertilizer for your garden.
- After harvesting the worm castings, choose container of any size. We suggest 1 quart to 1 gallon size.
- Use a cloth bag (that you don’t mind getting dirty!) and place the worm castings inside. use roughly 1 quarter cup of castings for every quart of water, so 1 gallon will use 1 cup of worm castings. Cloth bag alternatives can be a cut up old t-shirt, with the opening secured with a rubber band. Cheese cloth can also be used, but there may be more sediment in the finished worm tea.
- Place the Worm Tea Bag into filtered water (non-chlorinated) in the container.
- Use an aerator (like one you put in a fish tank) for best results. The oxygen keeps all of the good microbes alive. If you can’t use an aerator, make sure you are shaking or stirring your mixture several times a day.
- Place your brewing container in a sunny spot to “brew the tea” using solar power. A window sill, or a sunny spot on your porch or patio would be a good space
- Brew for 24 to 48 hours.